Event/Calendars Feature
Objective
Learn how to use the Event Calendars feature in the Dashboard, including adding, editing, changing/editing synced calendars.
Create new Manual Calendar
Under "Features" click "Events"
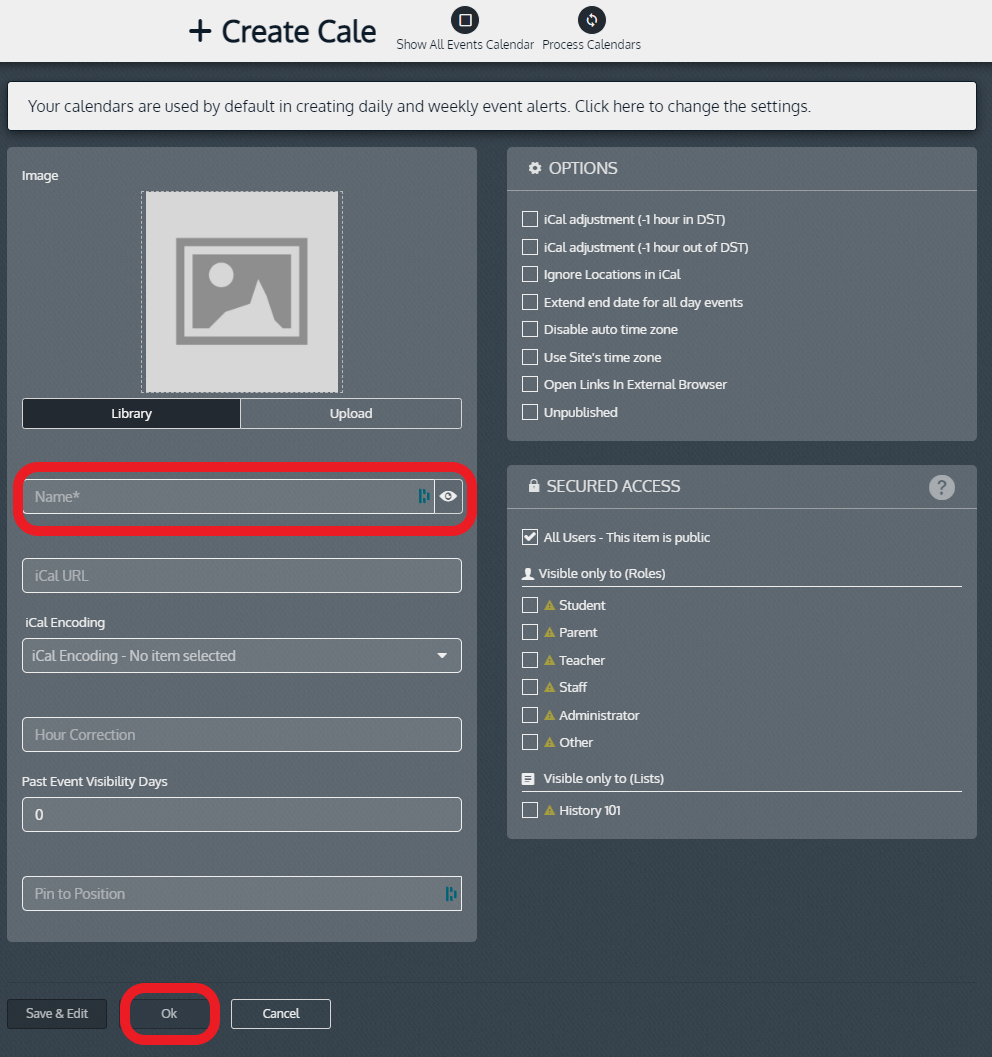
Click "+New"
Name the Calendar and click "Ok"
Locate the calendar, and click on the "eye" (View) icon
Click "+ Create Event" in the bottom left hand corner.
Name the event
Edit the start date/time and end date/time of the event.
Add the location (optional but typically used for away sporting events).
If the location is not listed under “Locations”, click the drop-down arrow and “+Add New”.
Options: "Ignore Location" (No location will show up associated with the event in the app),
"All Day Event" (no time frame associated with the event),
"Unpublished" (The event will NOT show up in the app).
Click “Ok” to save or the “Save & add similar” (If adding more than one event and repeat this process for each event.)
Adding Events to a Manual Calendar
If Using an iCal calendar these steps will not work
Select "Events"
Click the "Eye" icon
Click "+ Create Event"
Edit the start date/time and end date/time of the event
Name the event
Add the location (optional but typically used for away sporting events)
If the location is not listed under “Locations”, click the drop-down arrow and “+Add New”
Options: Ignore Location (No location will show up associated with the event in the app), All Day Event (no time frame associated with the event), and Unpublished (The event will NOT show up in the app)
Click “Ok” to save or “Save & add similar” if adding more than one event and repeat this process for each event
Once all events are entered, click “Ok”.
Editing an Event on a Manual Calendar
Select the Calendar and click "Process"
Processing of the calendar occurs in the background. Click "Close"
You should receive this Operation completed message. If you do not please reach out to your App Support.
Adjusting Event Time on an Existing iCal
There may be cases in which your event time on the app may show off by an hour (or more). For example, on your dashboard and web calendar you may see 1:30 PM displayed, but when you preview the calendar on the app, you may see 12:30 PM. This can be fixed by adjusting the hour correction on the calendar in the dashboard.
Navigate to "Events" and locate the calendar you want to edit & click the pen "Edit" icon.
Click on Hour Correction and enter the number of hours to correct.
Click “Ok”, then on the "Events" page, find the calendar name listed, and click “Process iCal”
If you want to edit the event outside of the Dashboard you will need to edit it within the source calendar generating the iCal, I.e. the Google Calendar or whichever service you are using to generate an iCal.
Edit existing iCal URL
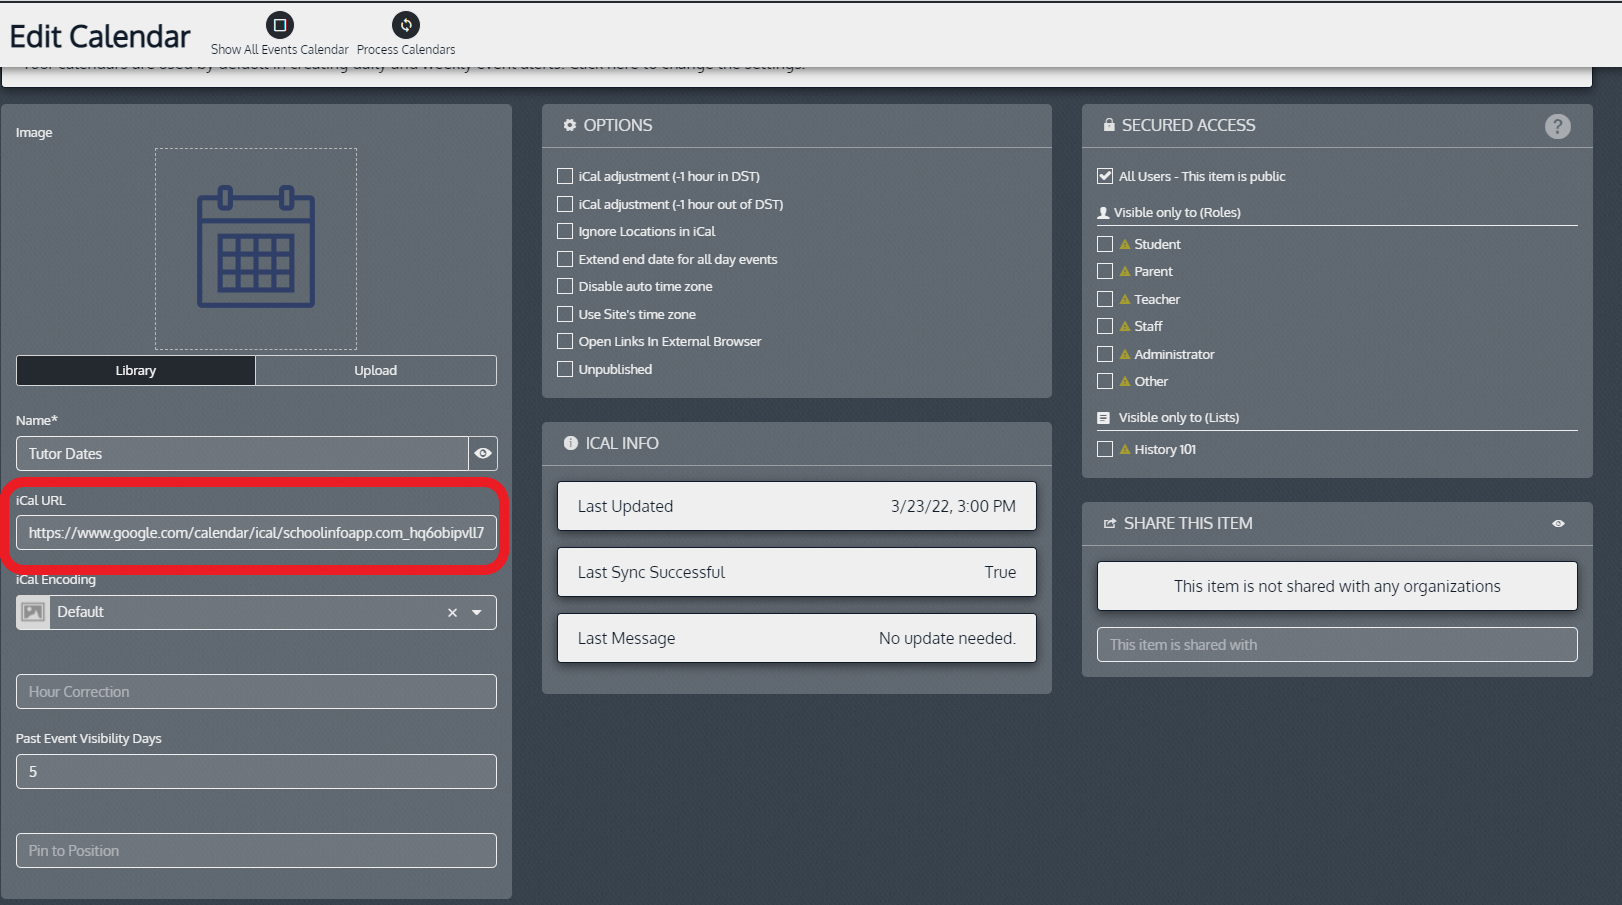
Locate on the Dashboard navigate to "Features" > "Events" > click the "Edit" pen icon for the calendar you need to edit.
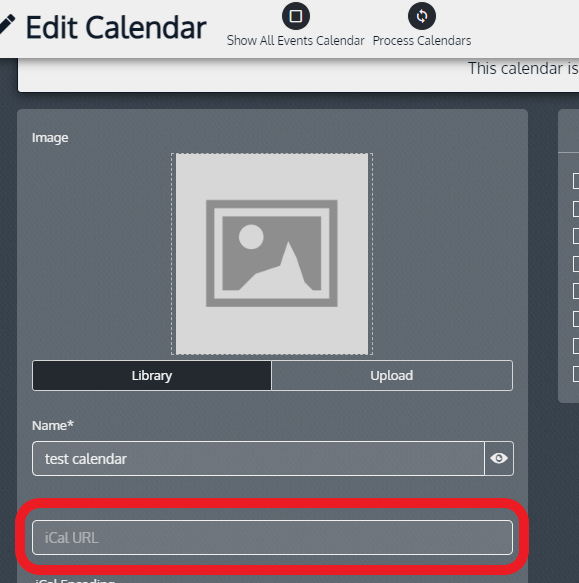
Replace the link in the "iCal URL" field with your updates iCal.
Click "Apply" to save your changes and remain on this page, click "Ok" to save the changes and exit to the Events page you are at previously
On the "Events" page, click on the semi-circular arrows "Process iCal" icon next to the calendar you finished editing.
You will receive one of 3 screens:
Screen 1: Your calendar will successfully finish processing. If this appears you are finished editing your calendar.
Screen 2: The sync is running in the background, but we cannot show the real-time progress of it. Please check back on this calendar a few minutes later.
Do as the instructions say and check back later by clicking the progress in the edit area of the calendar. You can see this in the "iCal info" area of the iCal's editing options
Screen 3: You will receive an "Error 404 Not Found" Error. This means the URL you input is incorrect. Head to the source URL and make sure you copy/pasted the correct and complete URL.

This is only to edit the URL of the iCal, not the events displaying in the calendar. To edit those you must edit the SOURCE CALENDAR***
Generate iCal URL from Google Calendar
Login to your Google account and navigate to your Calendar, and click the 3 dots next to it's name:
Scroll down on the proceeding page until you find the "Public address in iCal format" field and copy/past this into the iCal URL field in the Dashboard.
Copy & paste the URL you found here:
Click "Ok"

Pinning/Ordering Event Calendars
Click the pin and use the arrows to change positions
Or Click "Edit" and adjust the "Pin to Position" box of the desired calendar
Related Articles
Import Calendar Events to an Existing Calendar
Objective To show how to Import Calendar Events to an Existing Manual Calendar in the Dashboard. How to Import Calendar Events Navigate to Events, under, Features in the Menu. Select View for the manual Calendar that you would like to import events ...Adding an Events Folder - Dashboard
Select "Features" Select "Events" Click "+ New Folder" Give the folder an Image and Name Click “Ok”Deleting a Manual Calendar Event
**WILL NOT WORK IF YOUR CALENDAR IS AN ICAL. DELETE EVENT FROM SOUCE CALENDAR TO REFLECT CHANGES** From the Dashboard select "Features" Select "Events" Click the "Eye" (View) icon, for the manual calendar you want to remove the event from. Manual ...Documents Feature
Objective Provide a walkthrough of how to use the Documents Feature including creation, deleting, and adding a Document Folder Click "Features" then click "Documents", all steps below take place within this feature location. Adding a Document Select ...Adding Apps
Objective Provide a walkthrough for how to add an App to your school's App Library. Apps must be added by a System Admin Technician via a trouble ticket request. Click "Apps" Click “+New” Choose from drop down list of most used apps & click “Ok”